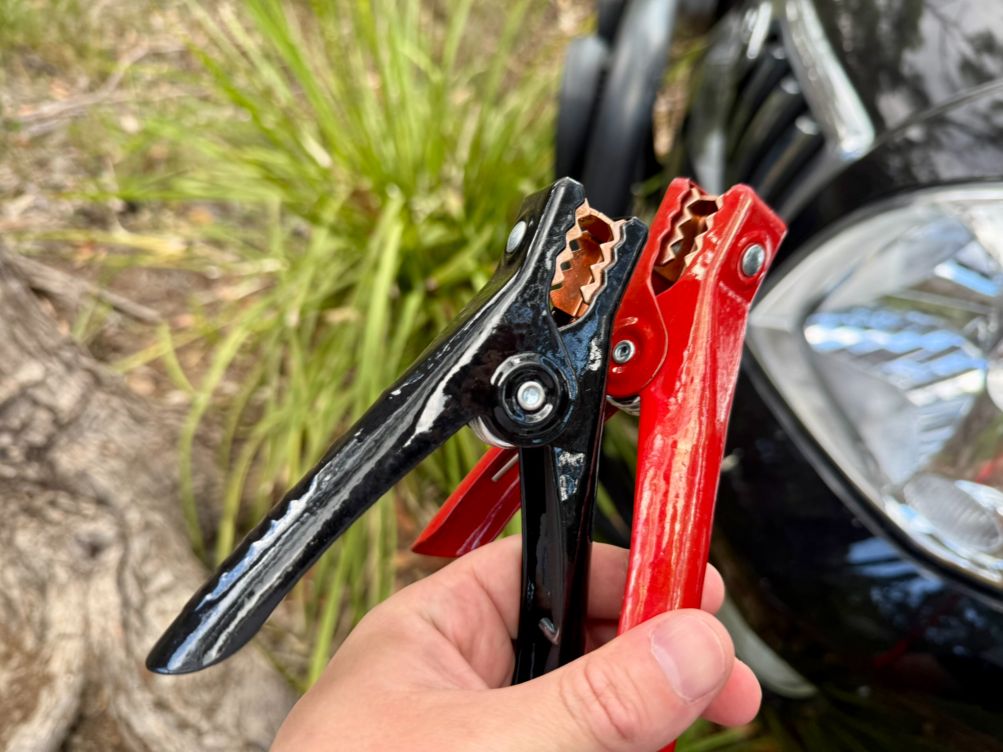
There is nothing quite like the sinking feeling of turning the key and hearing that sad, slow clicking sound. A flat battery usually happens at the worst possible time. Luckily, if you have a set of jumper leads and a friendly donor car, you can be back on the road in minutes. But be warned: jump starting is not just about connecting red to red and black to black.
The good
- Do check battery voltage first (12V)
- Do connect red leads first
- Do let donor car idle for 10 minutes
- Do remove leads in reverse order
- Do check the car manual first
The not-so-good
- Don't let clamps touch metal/each other
- Don't connect black to dead battery
- Don't use cheap, thin leads
Our picks
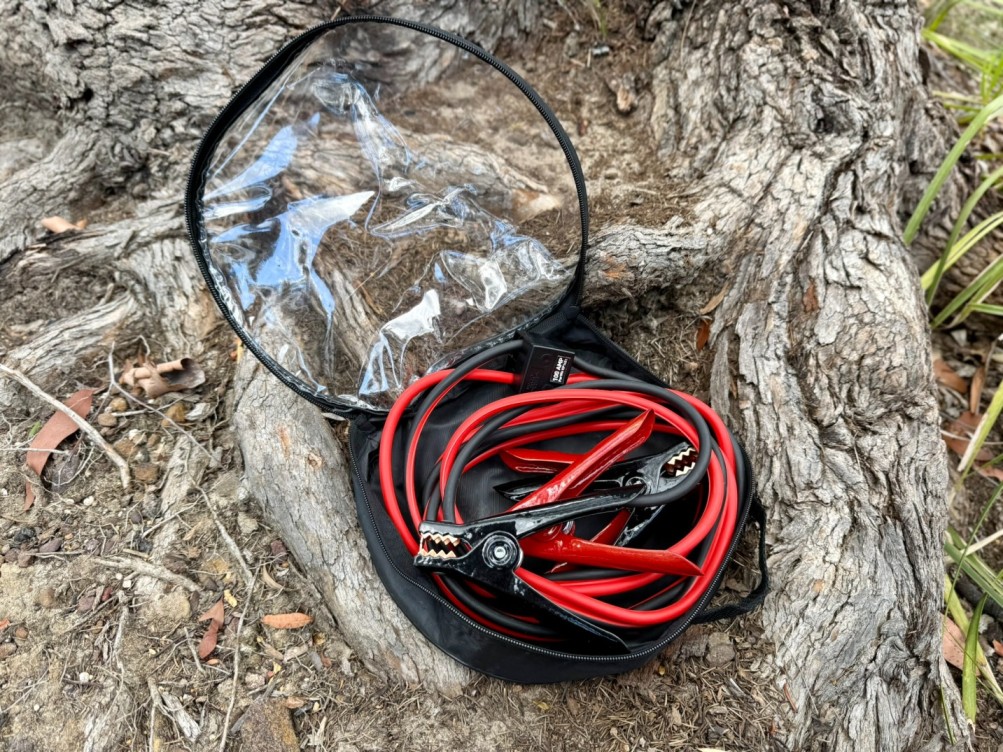
Modern cars have complex computers and sensitive electronics. Connecting the leads in the wrong sequence can lead to expensive damage. Therefore, learning the correct, safe procedure for how to jump start a car is absolutely essential. This guide walks you through the proper connection order, ensuring you transfer power safely without causing sparks or frying a control unit. It’s a simple skill, but the correct steps are vital for protecting your vehicle.
The Components: Cars and Cables
To successfully jump start a car, you need three key components: a Dead Car (the one that won’t start), a Donor Car (the one providing power), and Jumper Leads. The Donor Car should ideally have a battery that is the same voltage, usually 12V. Furthermore, it should have a similar size engine or larger.
Jumper Leads are heavy duty cables featuring red and black clamps. The Red Clamp always connects to the positive terminal (+). This is the power supply. The Black Clamp connects to the negative terminal (–), which acts as the ground return path. Crucially, the final black connection should not be made directly to the dead battery’s negative terminal. Instead, you connect it to a solid metal earthing point on the dead car’s engine bay. This simple step minimizes the chance of sparks near the battery, which can sometimes release flammable hydrogen gas.
how to jump start a car
Follow the sequence outlined in the table exactly. Once all four connections are made, start the Donor Car’s engine. Let it run for five to ten minutes at a fast idle. This allows the Donor Car’s alternator to feed a stabilizing charge into the Dead Car’s battery. This waiting period is critical for a successful jump start.
After the short charging period, attempt to start the Dead Car. If it starts successfully, leave it running. Now you must disconnect the leads in the reverse order of how you connected them (Black from Dead Car, Black from Donor Car, Red from Donor Car, Red from Dead Car). Be careful not to let the clamps touch each other or any metal on the car. Once the leads are clear, take the recovered car for a drive of at least thirty minutes. This allows the alternator to fully recharge the battery.
Connection Sequence for jump starting a car
| Step No. | Car | Connection Point |
|---|---|---|
| 1 (Red) | Dead Car | Positive (+) Terminal |
| 2 (Red) | Donor Car | Positive (+) Terminal |
| 3 (Black) | Donor Car | Negative (-) Terminal |
| 4 (Black) | Dead Car | Unpainted Metal Earth Point (Engine Block/Chassis) |
What to keep in mind
Jump starting is inherently an electrical process, but the environment still matters a great deal. Safety First: always ensure both cars are parked on level ground. Engage the handbrakes firmly and turn off both ignitions before attaching any leads. If you are stuck in Mud or Sand, stability is key. Use a set of Recovery Boards as wheel chocks to prevent any rolling, even if the handbrake is on.
Modern vehicles, especially those with diesel engines or large petrol engines, require thick, high quality jumper leads. Cheap, thin leads cannot handle the necessary amperage. They can overheat and even melt. If you are dealing with a sealed AGM or deep cycle battery in a 4WD Storage setup, the principles remain the same. Always confirm the battery voltage is 12V before connecting the leads. Avoid jump starting a deeply discharged battery in extreme Cold conditions, as it may be frozen. Trying to charge a frozen battery can cause it to rupture. Finally, always consult your vehicle owner’s manual first, as some manufacturers recommend specific jump points away from the battery.
Summary
Knowing how to jump start a car safely is a valuable piece of knowledge that gets you out of a tough spot. Remember the golden rule: Red to Positive, Black to Negative. The most critical step is the fourth and final connection, which is the Black lead to an unpainted metal earth point on the dead car’s chassis or engine block. This is the safety step that minimizes sparking near the battery.
Once connected in the correct sequence, let the Donor Car run for several minutes. This primes the dead battery with enough stability to crank the engine without damaging either vehicle’s electrical systems. Disconnecting in the reverse order is just as important as connecting correctly. Always invest in quality jumper leads with thick cables. Keeping a sturdy set in your car is an absolute must, especially if you venture off the beaten path regularly.