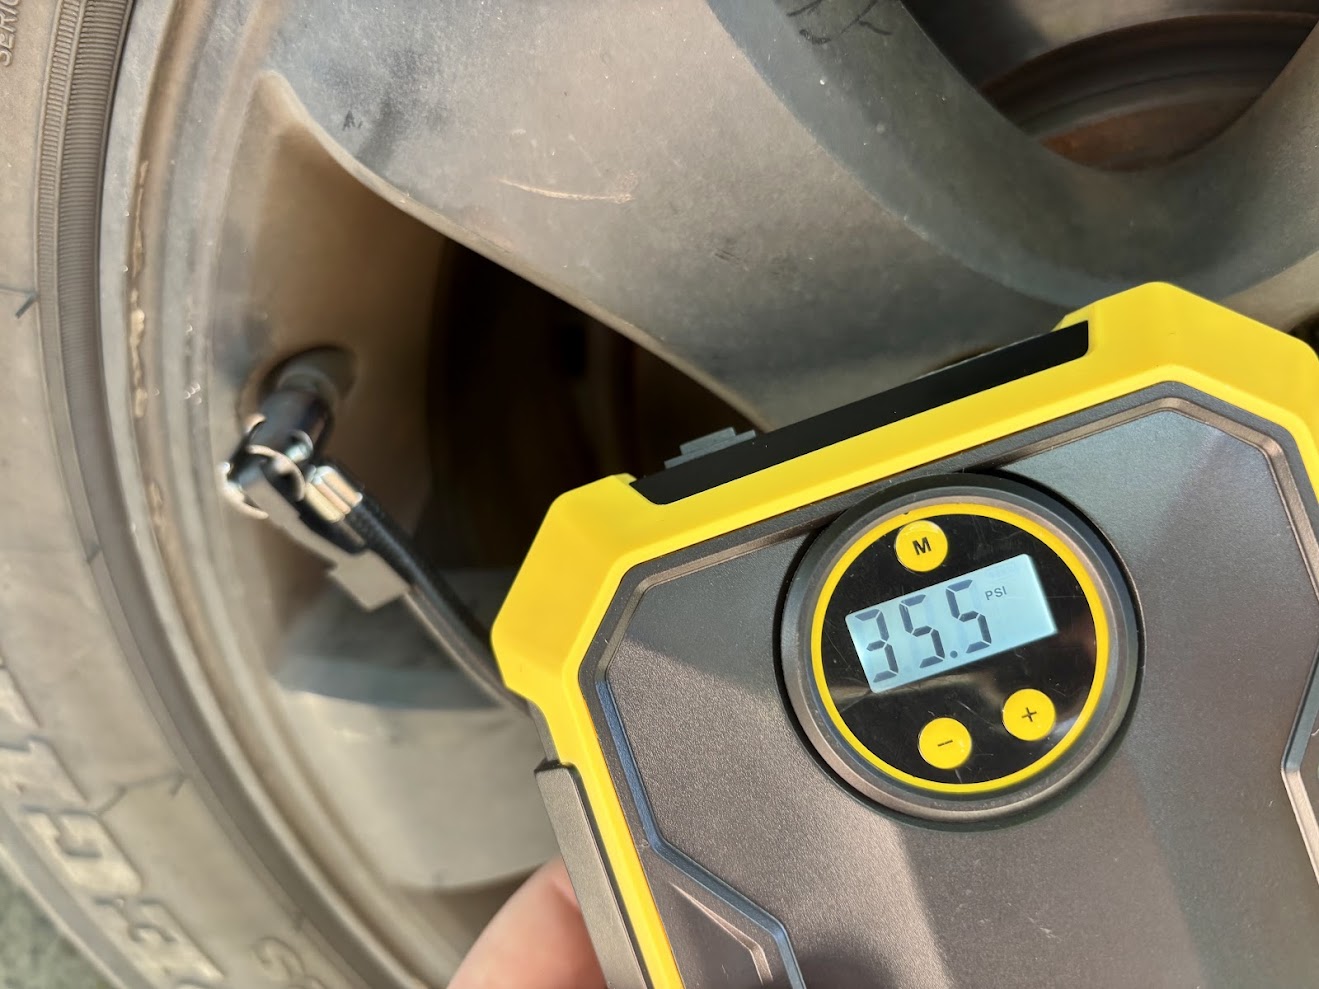
There’s nothing worse than sitting on the side of a track, watching everyone else drive off while you’re still messing around with a tyre gauge and a stick, trying to hit that perfect 18 PSI or 20 PSI. Airing down is essential for off-roading—it improves traction, protects your suspension, and generally makes the ride more comfortable.
The good
- Do use a reliable pressure gauge
- Do set on a full-size spare tyre
- Do make quarter turn adjustments
- Do check the set pressure twice
- Do tighten the locking ring well
The not-so-good
- Don't set on a hot tyre
- Don't use a worn out valve
- Don't overtighten the cap
Our picks
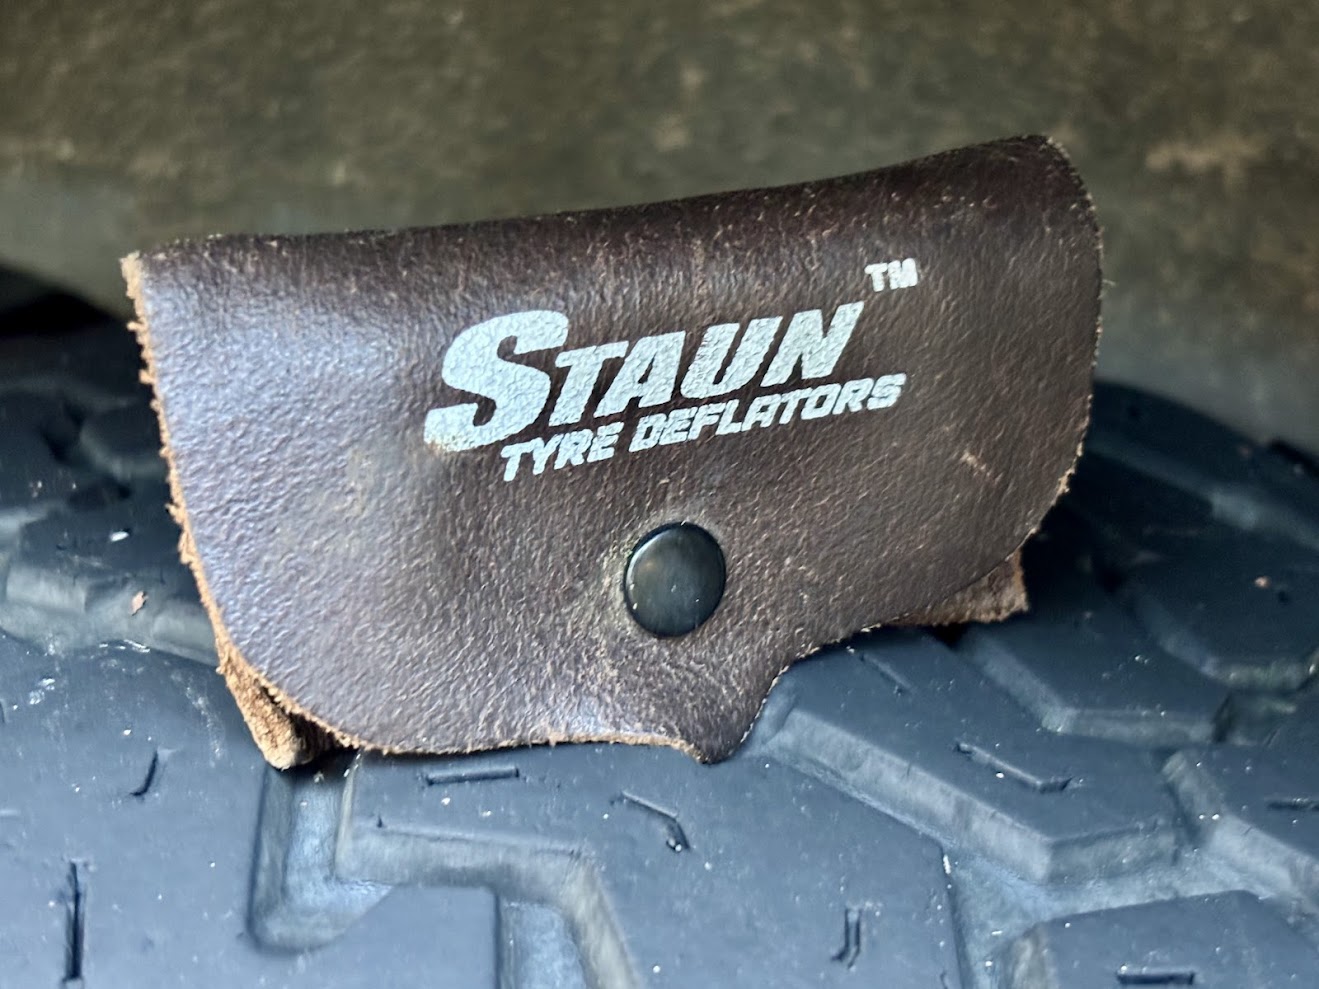
For years, I relied on manually deflating, but once I switched to Staun deflators, the game changed. These little brass beauties are brilliant because they do the work for you. The trick, however, is knowing Staun tyre deflators how to set them precisely to your desired pressure. It’s a simple calibration process that only takes a few minutes, but it’s crucial to get it right. Once set, you can deflate all four tyres at once, letting you enjoy your coffee while your rig prepares for the sand or rocks. Let’s get them dialled in!
how do staun tyre deflators work?
A Staun tyre deflator is essentially an adjustable, spring-loaded valve designed to quickly release air from your tyre until a specific, pre-set pressure is reached, at which point it automatically seals the air flow. It’s a massive time saver, especially if you drive a multi-purpose vehicle that switches frequently between highway pressures and trail pressures.
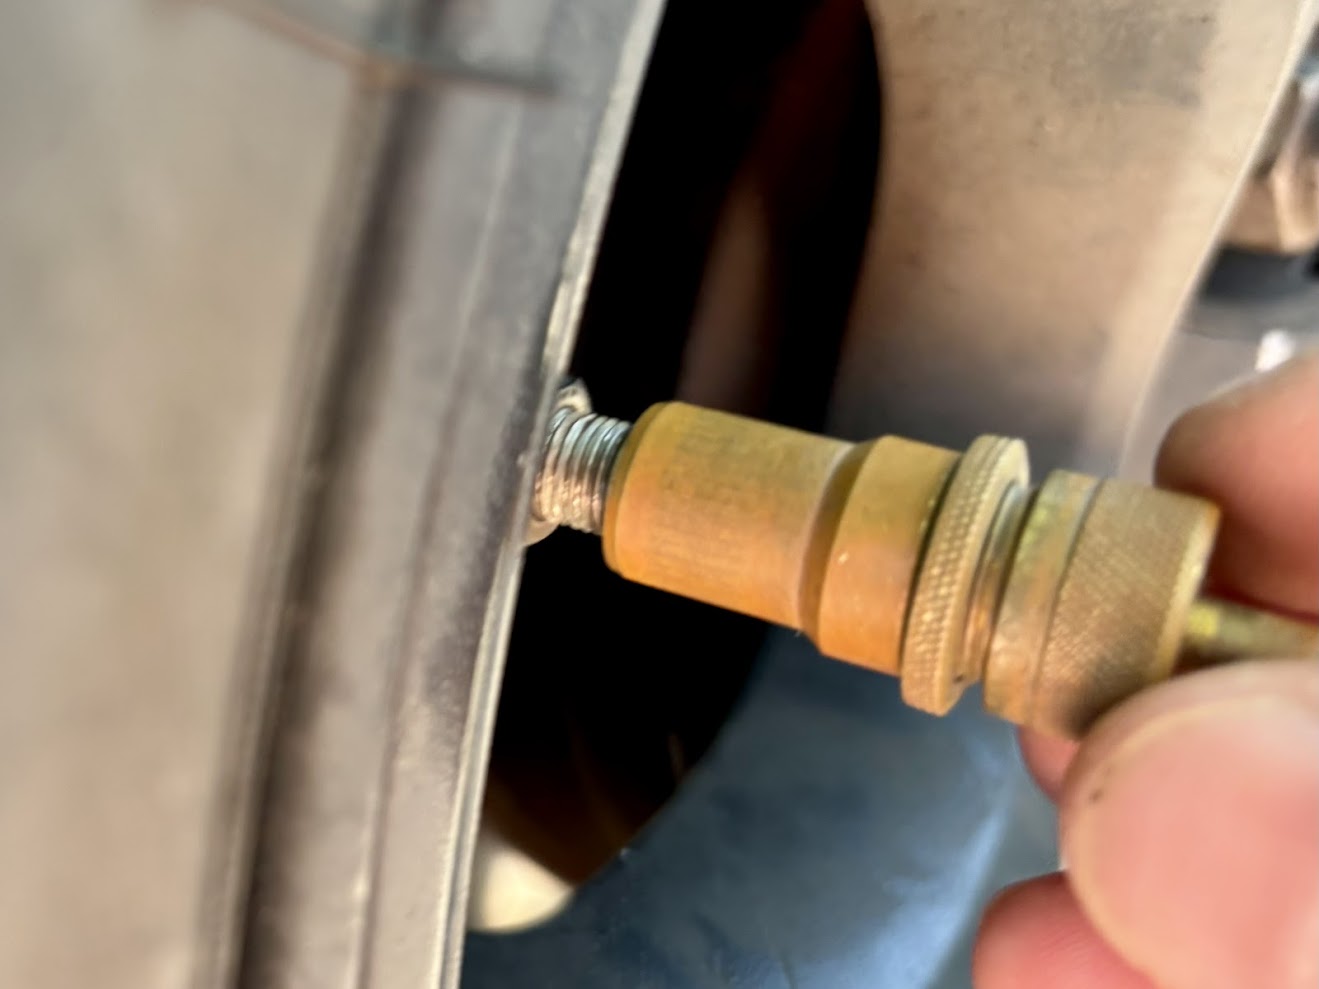
These deflators are usually made of durable brass and contain a central shaft and an adjustable cap. The cap increases or decreases the tension on an internal spring. More tension means the valve will stay closed longer, resulting in a lower set pressure. Less tension means the valve opens easily and closes earlier, setting a higher residual pressure. Because the adjustment is so fine, you need a high-quality gauge for the initial setup. The best part is that once you’ve figured out the correct PSI or Bar for your typical terrain—say, 15 PSI for deep sand or 22 PSI for a rocky track—you only have to go through the setting process once. Then, it’s just a matter of screwing them on and waiting.
What parts are the staun tyre deflators made of?
| Component | Function in Setting |
|---|---|
| Adjustment Cap | The outermost, removable cap used to physically turn and lock the pressure setting. |
| Locking Ring (Collar) | A small nut that locks the adjustment cap in place once the desired pressure is found. |
| Internal Screw (Spring Tensioner) | The core mechanism that determines the shut-off pressure. Turning it adjusts the spring tension. |
How to use it
Learning Staun tyre deflators how to set is a four-step process. First, ensure your tyres are inflated to their normal highway pressure. The key tool here is a reliable, accurate pressure gauge. Next, take the deflator apart. Remove the small adjustment cap and loosen the locking ring beneath it.
Now, screw the deflator onto your tyre valve. It will immediately start releasing air. Once it stops, remove the deflator and immediately check the residual pressure with your gauge. Let’s say you want 20 PSI but the gauge reads 25 PSI. Since the pressure is too high, you need to adjust the internal mechanism to release more air. This means you need to unscrew the internal screw (or spring tensioner) by about a quarter turn. Re-inflate the tyre, attach the deflator again, and repeat the check. Keep making these small adjustments until the deflator stops the air exactly at your target pressure. Once it’s perfect, tighten the locking ring against the brass body to secure the internal screw, and replace the adjustment cap. You’re set!
What to keep in mind
When you’re learning Staun tyre deflators how to set them, remember that consistency is everything. Always use the same high-quality gauge throughout the process to avoid discrepancies. Even small differences between gauges (and they all vary!) can throw off your setting by a couple of PSI. Also, air temperature and sunlight exposure can affect tyre pressure, so try to perform the initial setup in a consistent environment, ideally in the shade or on a cool morning, and be aware that a hot tyre on a sunny day might deflate slightly lower than a cold one.
If you plan to run two different pressures—say, 20 PSI for rocks and 15 PSI for sand—it is genuinely worthwhile to have two separate, colour-coded sets of deflators. Changing the set point repeatedly can loosen the locking ring over time, making your settings unreliable. Also, when you attach the deflator to the valve stem, do so quickly and firmly. If you hear a faint leak after it has stopped deflating, give the deflator a quick clockwise twist—this usually helps reseat the internal seal and stops the leak. After a muddy or dusty trip, a quick rinse with fresh water and a touch of silicone spray on the internal spring mechanism will ensure they operate smoothly for your next outing.
Summary
The Staun deflator is a brilliant piece of gear that saves time and knee strain, but its reliability depends entirely on proper initial setup. Now that you know Staun tyre deflators how to set them, you can confidently calibrate them to your preferred off-road pressure, whether that’s 18 PSI for soft sand or a higher pressure for rocky trails. Remember the key steps: use a quality gauge, loosen the locking ring, make small adjustments to the internal screw (unscrewing lowers the pressure), and meticulously re-check the pressure after each adjustment.
Once you hit that sweet spot, securely tighten the locking ring. This simple action is what maintains your setting through weeks of corrugations and vibrations. By dedicating a few minutes to this calibration now, you buy yourself hours of adventure time later. No more guesswork, no more kneeling—just screw them on and listen for the satisfying hiss, knowing they will stop precisely where you need them to. This preparation is part of the fun of getting out there!